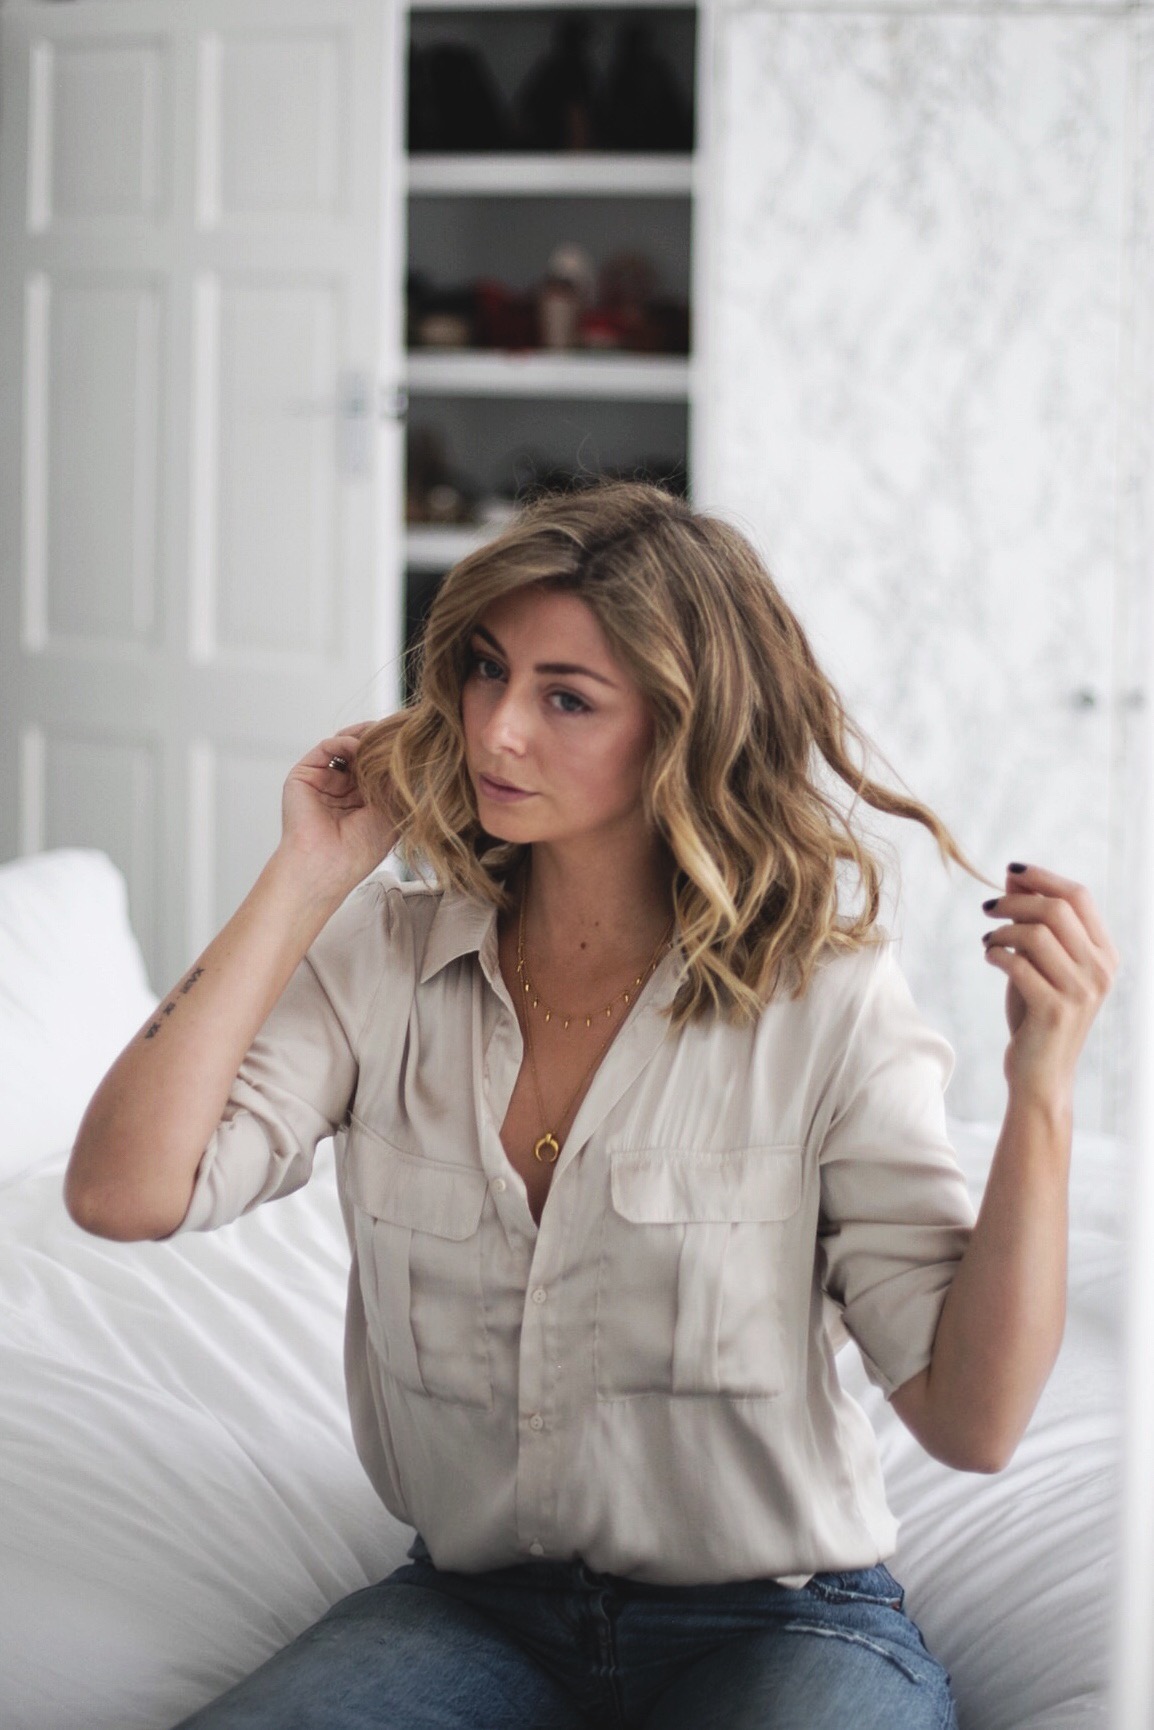
A hair tutorial is one of the most requested posts I've ever had so finally I got round to creating this for you all. When it comes to hair, I am the laziest person you'll ever meet, I have to physically push myself to even brush it in a morning (of which most of the time, I don't). If we flashback a few months to January, my hair was considerably longer and that's because I made the epic mistake to get hair extensions. Now don't get me wrong, they were great, Vixen and Blush did an amazing job of colour matching and the quality of the hair is excellent. And of course they were great for hair swishing and they definitely got a lot of attention (most of it male wolf whistles 🙄) but for someone like me who likes a no-fuss 'do' they were a nightmare. I'm a very low maintenance kinda girl, I don't wear a lot of make-up and my hair is just, my hair. I like to call the hair extensions period of my life my mid-hair-crisis, I had that odd in-between lengths hair which was just a bit meh. If anyone is thinking about getting hair extensions then here's a few things to bare in mind; you cannot leave them wet, and as someone that leaves their hair to naturally dry in Summer this was an epic fail. My hair took 1 1/2 hours to dry and then style because that's another thing...this hair is not yours, so it's not the same texture as your own hair. Once you've gone through the arduous task of drying all that hair, you really have to style it otherwise you look like someone that's crawled through a bin. You also can't tie them up any higher than the mid head point, mainly because that's against the rule but also because the volume of hair is now so heavy that it simply won't stay there without slipping down. So no buns or high pony tails, tricky when going to the gym I'll tell you.
The extensions lasted 2 months, that's all I could bare, and then I did something I should have done months ago, I went for the chop. I've had a 'lob' (long bob) before and I loved it, I should have known that this IS my hairstyle, but as with all things social media it's easy to get caught up in 'Oooo I want that hair'. For those of you that don't already know, the salon that I've been going to for the last 2 years is Sassoon on Kings Road. Matt does my colour, for which I'd had balayage for the last 2 years until I had the chop then we mixed things up, went all 90's and went for highlights instead. I'm loving it. Natasha is the absolute Queen that does my cut, and boy has she pulled it out of the bag this time 🙌🏼 I've never loved my hair as much as I do now and as someone that's had their fair share of hair disasters this is a great feeling.
Now on to the bit you've all asked for. Before I start with the tutorial I'd like to just say that this method is the exact same method and I used the exact same tools/products (with the exception of the powder) when I had the hair extensions. So this will work whatever length your hair.
1. WASH HAIR
This is pretty self explanatory guys but I always wash my hair before styling it. I wash my hair every other day unless I've been to the gym or in hot weather, in which case I'll wash it daily. The shampoo and conditioner I use are both from my salon, Sassoon, and they are part of the 'Illuminating' range which is specifically designed for coloured hair. I use a deep conditioning treatment from the same range once a week, normally on a Sunday evening which is my pamper evening.


2. STYLING PRODUCT
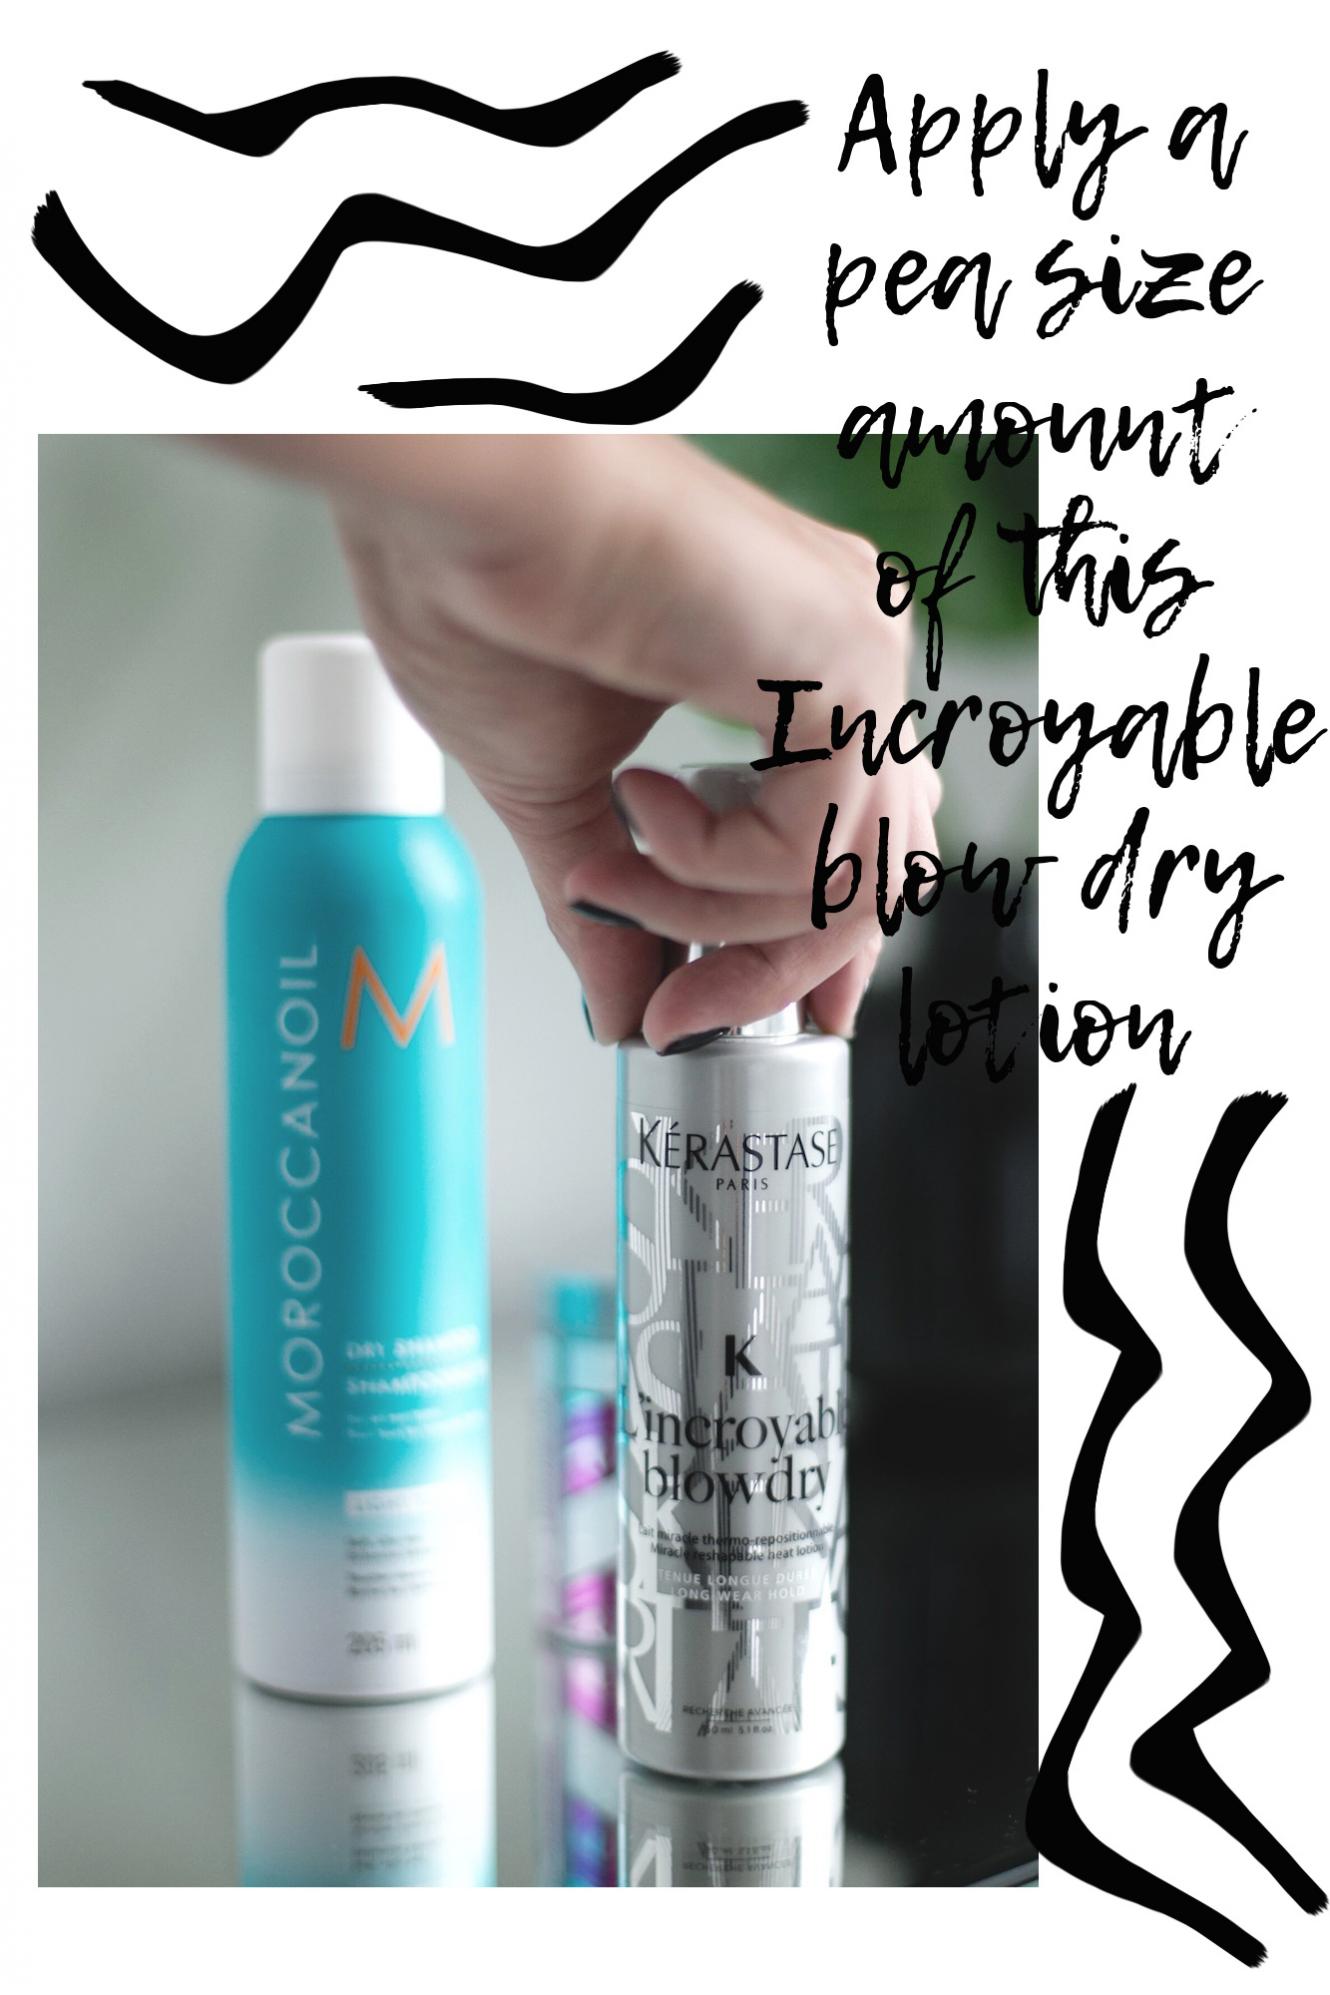
I towel dry my hair once I'm out of the shower and before blow drying I pump a pea sized amount of this L'incroyable blow dry lotion from Kerastase into the palm of my hand, rub the product together with both hands and then run through my hair. A little really does go a long way with this stuff so be sparing as you don't want too much product build-up because this will make your waves drop much quicker. The beauty of this product is that it reactivates with heat, so if you have the hair type where your waves won't last 2 days (or longer depending on how frequently you wash your hair) and they drop out when you go to bed, this is the product for you. Apply only once and you can continue to style your hair over and over with a heated tool, whether it be a curling wand, straightening iron or even just a blow dry.
3. BLOW DRY
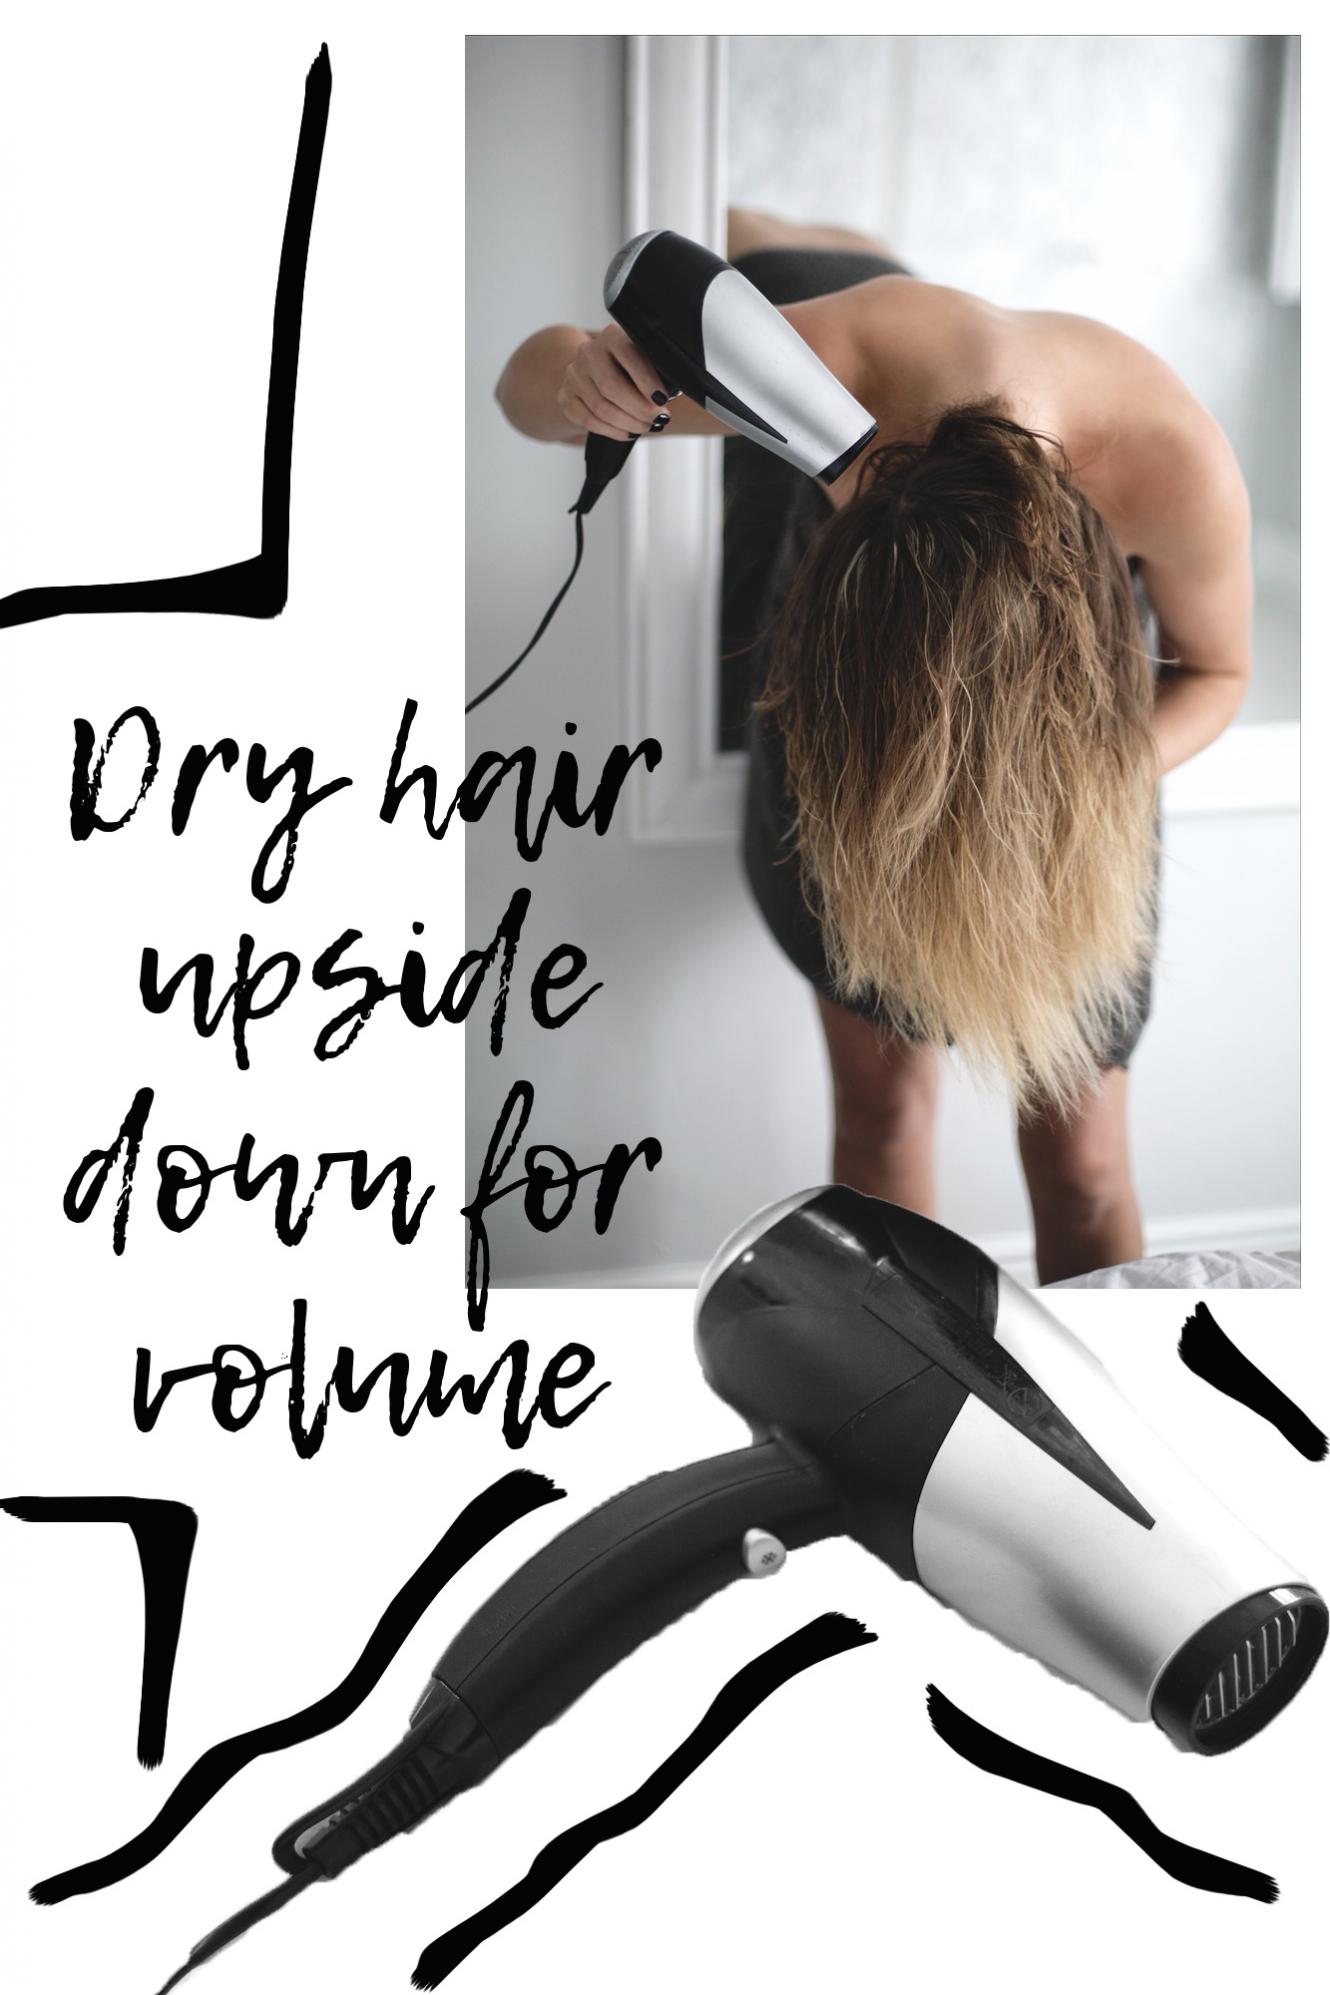
I use a tangle teaser to brush through my hair and then it's on to the blow drying, and trust me guys there is no art to this whatsoever. As I said I'm super lazy when it comes to hair so I like to use all the shortcuts I possibly can. My hair is fine so it tends so lack volume, the way to combat this is to rough blow dry your hair upside down. This process takes me about 3 minutes to completely dry my hair and the entire time I have my head upside down. If you've never tried this before give it a go, when you flip your hair back you'll look like a lion...in a good way. If you think I use one of these fancy ionic or overpriced Dyson hairdryers you couldn't be more wrong. I think my hairdryer is by Babyliss and I've had it for about 6 years, it's just a standard hairdryer and that's all you need.
4. REMOVE THE FLUFFINESS
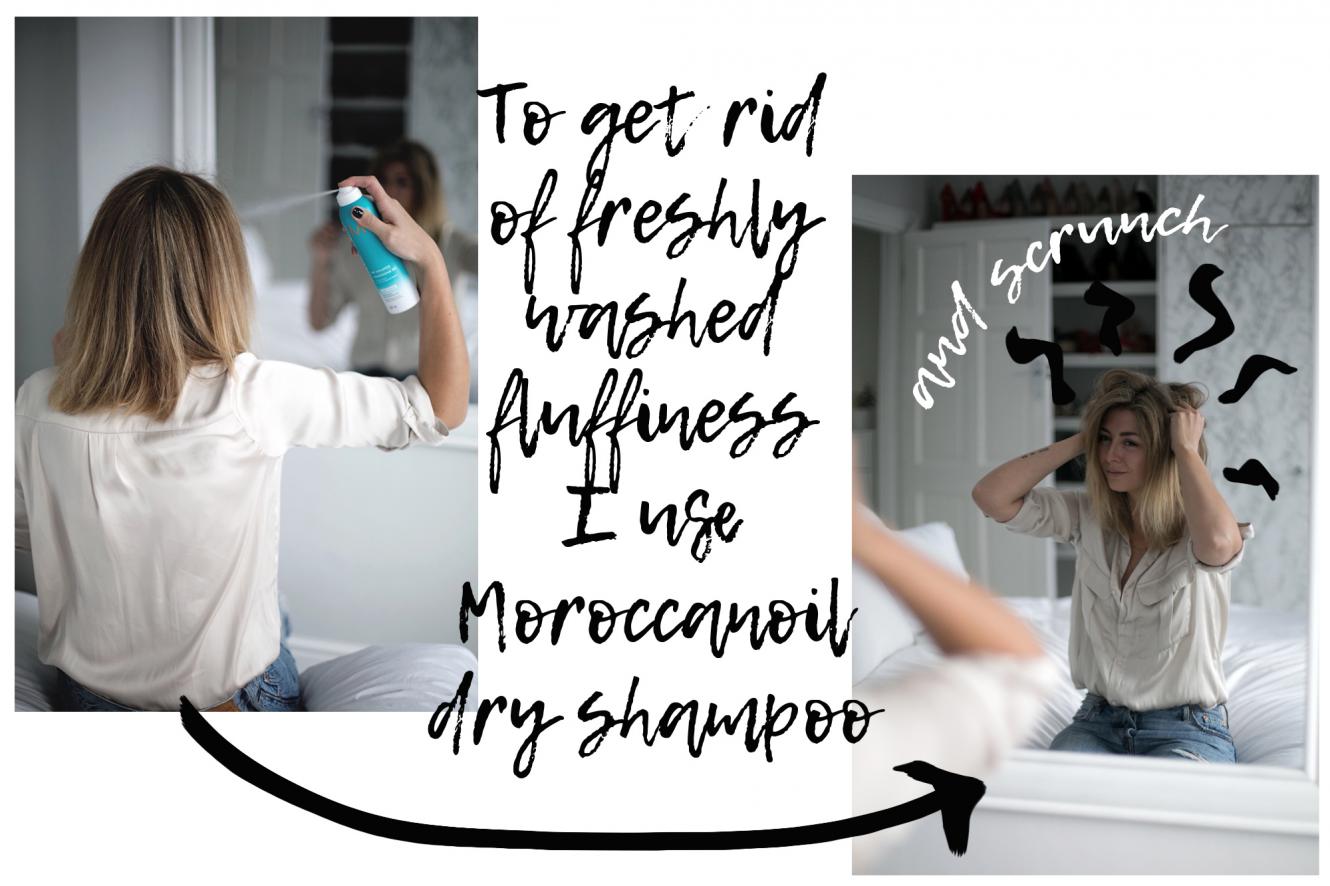
The irony of having freshly washed hair is that I then go and add product to it to make it not-so-freshly-washed or fluffy as I call it. Styling freshly washed hair can be a nightmare because it's just so darn silky and soft, so I use Moroccanoil dry shampoo to remove all that fluffiness. I spray a quick blast all over and then 'scrunch' to ensure the product settles and is even distributed. Spraying more product at the roots can add more volume if you have really really fine hair.
5. MAKIN' WAVES
If there's one product/tool that I couldn't live without it would be this wand. I discovered this wand about a year ago and my god has it changed my life. I've always loved GHD styling tools ever since I blew an entire wage packet on my first pair of GHD's as a youngster. For me the price is always justified, they really are that good. I had heard from a few Aussie bloggers that this GHD curve wave wand was the 'way forward' when it came to creating beach waves, and if there's anyone that knows about a beach wave it's the Aussies. So on their recommendation I went and bought the wave wand, and well...you guys love my waves so much that I'm writing this post. As you can see the wand isn't the traditional shape of a cylindrical barrel, it's like it's been squashed and slightly flattened, and this is what makes waves over curls.
I start the waving process by brushing through my hair again and then parting it to where I want my parting, which can either be straight down the centre or a little to one side if I'm feeling adventurous (lol). Again, I'm lazy, so do I section off my hair? Hell to the no, but I only have shoulder length hair so if you have longer hair then it might be worth sectioning off the top half with a clip and doing the bottom first. Starting at the front I take sections of about 1 1/2" in width and curl around the wand as cleverly demonstrating by the gifs below. I hold for a few seconds as this wand is super duper hot so you don't need to hold it there for long. I uncoil the hair in the same way and then I gently pull it straight and hold for a couple of seconds. Why do I just pull out the wave that I've just created I hear you ask? Well it softens the wave, making it less harsh and more beachy. If your hair drops quite quickly then you can skip this step.
My no.1 tip for creating a natural beach wave look is to alternate the direction that you twist your hair around the wand. So the first section should be twisted over the wand and the next under the wand, then repeat. This makes the waves appear 'less perfect' which in turn gives a more natural look.


6. ADD TEXTURE
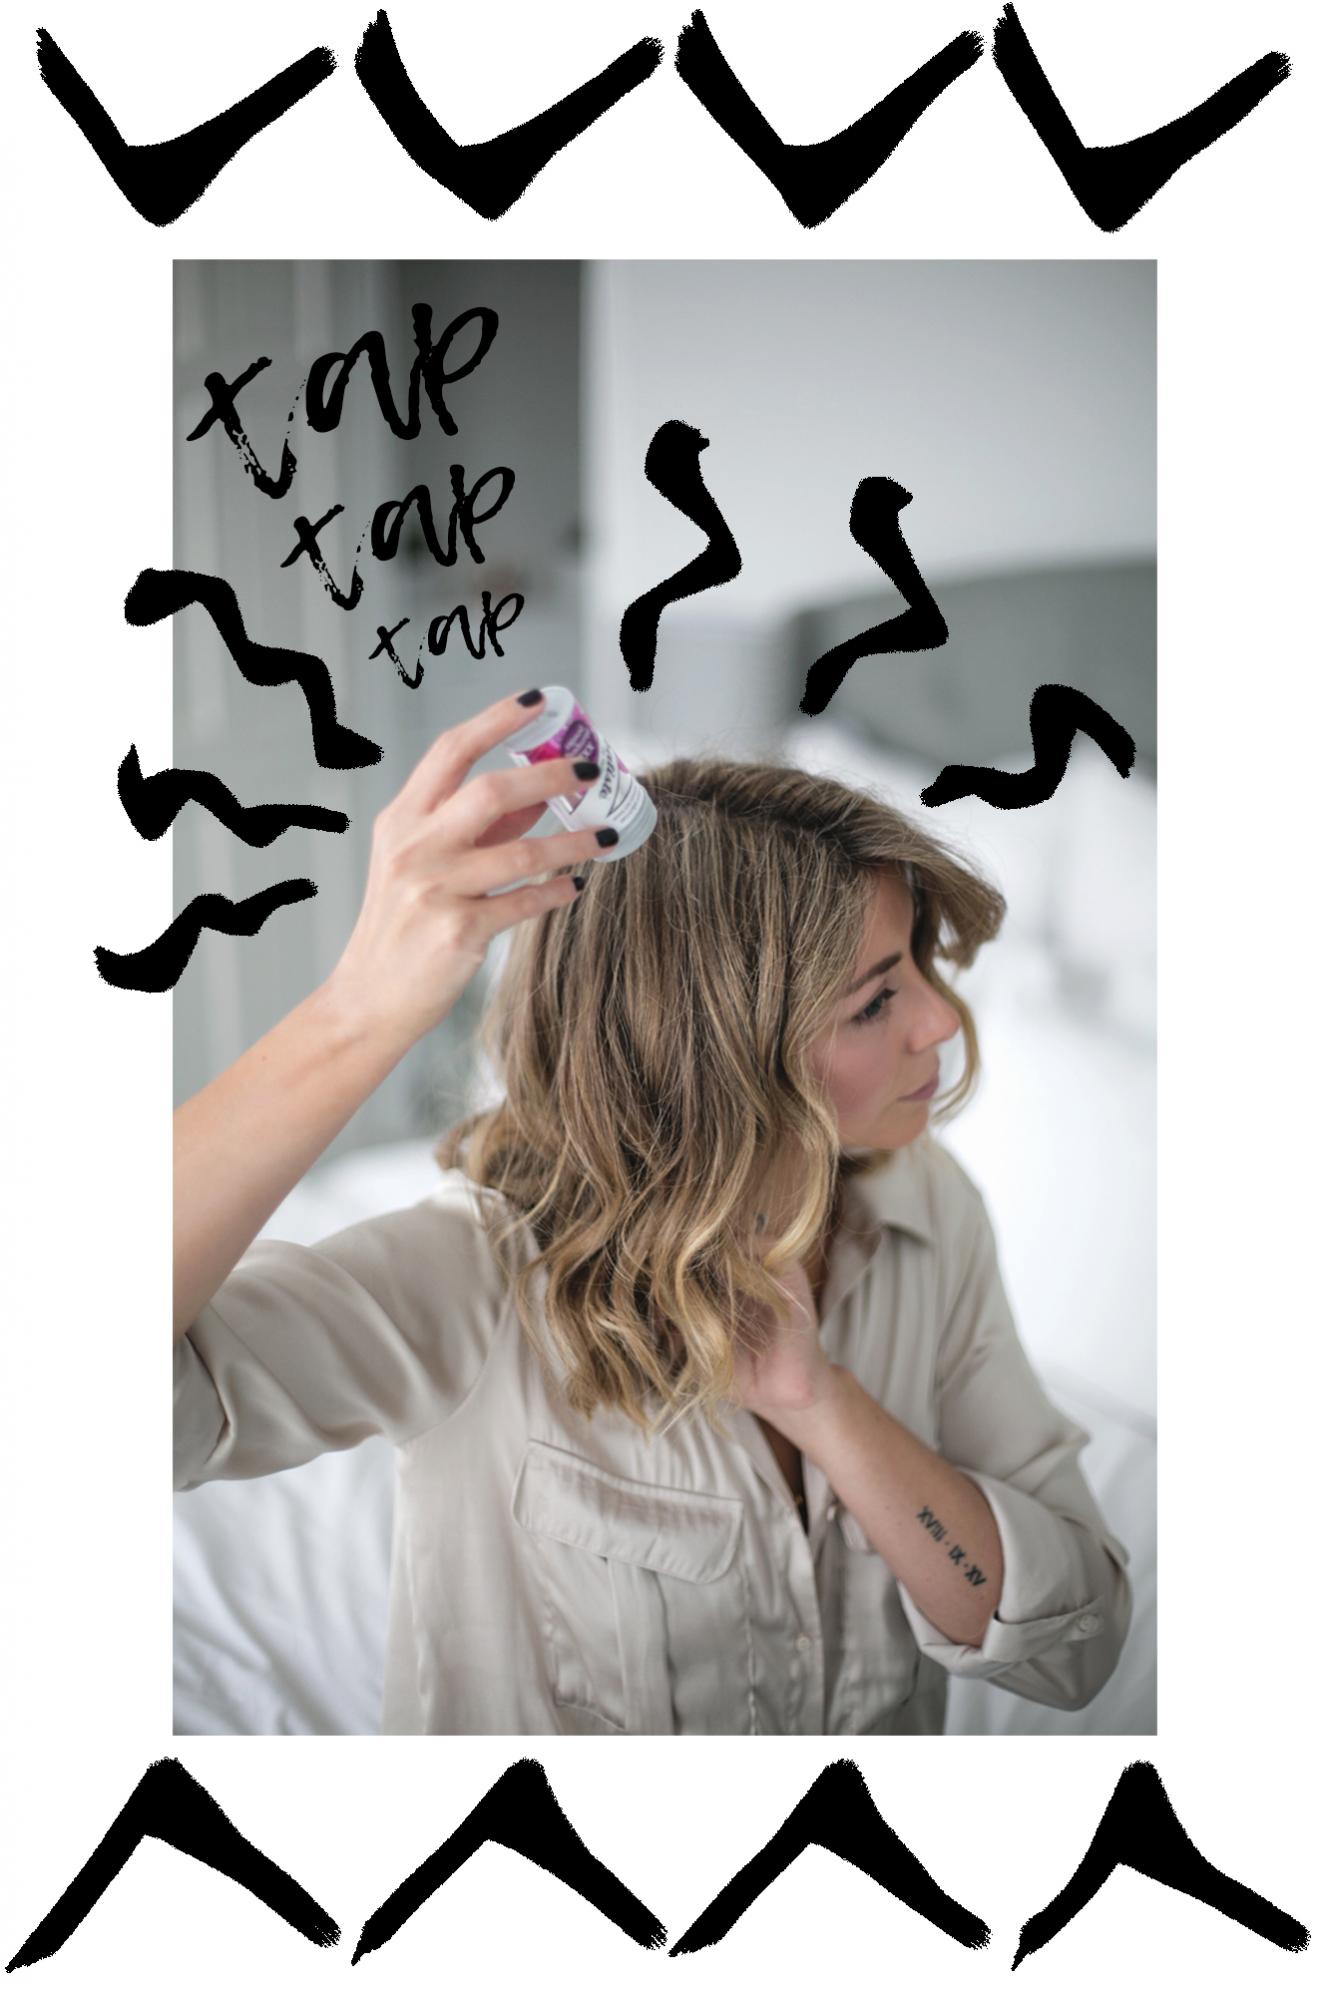
For anyone that's used plumping powder before then you'll know it's quite an acquired texture that it creates, this product might not be for all of you but you'll have to try it first to find out what I mean. The pluming powder that I'm currently using is by Batiste, so it's very reasonably priced and you can pick it up in all drugstores and even some supermarkets. Once I've finished waving my hair I rough it up a little with my hands to separate all the sections, I'll even tip my head upside down and give it a little shake. I tap the pluming powder over the roots AND lengths of my hair, but very sparingly because even the smallest dusting of this stuff works instantly. Again give it rough-up with my hands and there we have it, my hair has a salty kind of texture and so much more volume. I've yet to find another product that achieves this effect as well as plumping powder, but if you know of one then leave me your suggestions in the comments below.
Shop the Post
